Click in the button "Create Autonomous Database":
Type all the values required, In this example I am using the name "autonomousDB" for this DB deploy and also the version 19c:
Remember the password you are entering since this password will be used to connect to your database.
Put attention to the following option, because if you select a wrong one you can have issues if Oracle LMS audits your environment. Then click in the button "Create Autonomous Database".
The Autonomous DB will start to be created:
Wait until the DB is ready to be used. Now it's time to test the connectivity. To do so, click in the button "DB Connection":
Select "Instance Wallet":
Specify a password for the wallet and then click in the button "Download":
A Zip file will be downloaded, Unzip that file, you will see the following output:
Open the file "sqlnet.ora" and modify the value for the directory where you wallet is stored:
Before:
WALLET_LOCATION = (SOURCE = (METHOD = file) (METHOD_DATA = (DIRECTORY="?/network/admin")))
SSL_SERVER_DN_MATCH=yes
After:
WALLET_LOCATION = (SOURCE = (METHOD = file) (METHOD_DATA = (DIRECTORY="C:\Users\Deiby Gomez\Downloads\Wallet_autonomousDB")))
SSL_SERVER_DN_MATCH=yes
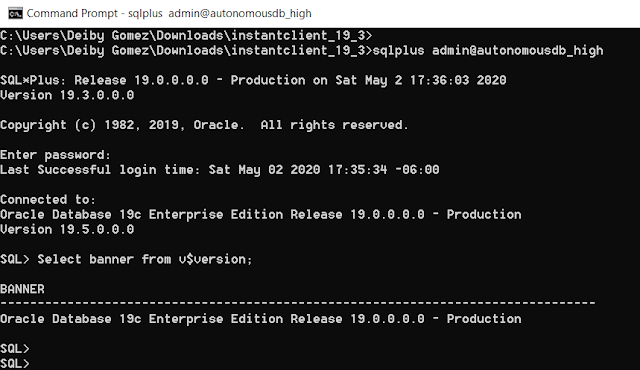
Then Copy the files "sqlnet.ora" and "tnsnames.ora" from the directory of your wallet and past them where your Oracle sqlplus Client is located.


No hay comentarios:
Publicar un comentario